🎆 Celebrate the 4th! Get 12% Off with Code JULY4 • Now Through July 6

Building your own AR-15 from scratch can be a rewarding project that allows you to fully customize your firearm. This step-by-step guide will walk you through the process.
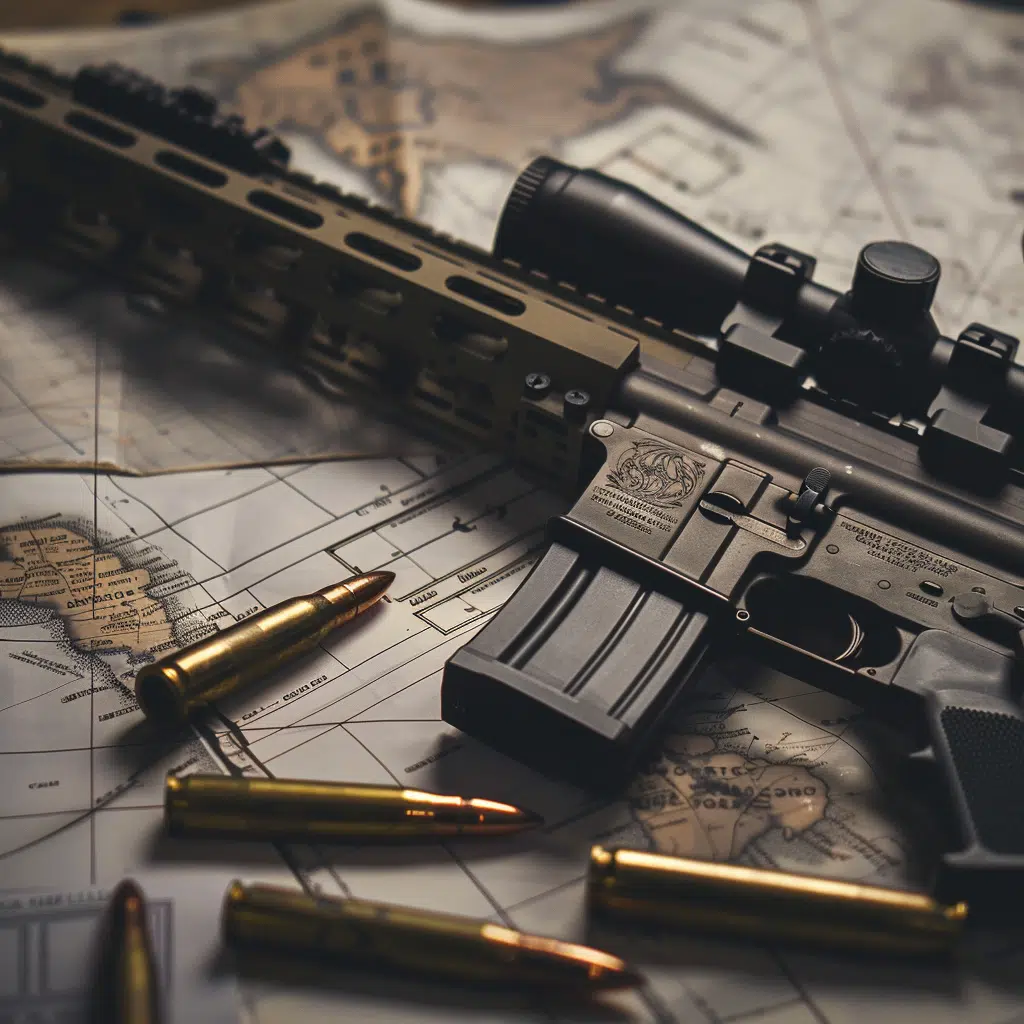
The first step in building an AR-15 is gathering all the necessary parts. This includes the lower receiver, upper receiver, barrel, handguard, stock, trigger group, bolt carrier group, and any other accessories you want to add.
Secondly, start by assembling the lower receiver. This involves installing the trigger group, safety selector, magazine release, and bolt catch. Make sure you closely follow the manufacturer’s instructions to ensure you install everything correctly.
Next, assemble the upper receiver. This involves installing the barrel, gas block, and handguard. Again, closely follow the manufacturer’s instructions to ensure you install everything correctly.
Moreover, once the upper receiver is assembled, you can install the bolt carrier group and charging handle. These components are crucial for the operation of your AR-15, so make sure they’re installed correctly.
Additionally, with both the upper and lower receivers assembled, you can now join them together. Usually, you align the pivot and takedown pins on the lower receiver with the corresponding holes on the upper receiver to do this.
The final step is to install the stock. The type of stock you choose will depend on your personal preferences and the specific laws in your area.
In conclusion, building an AR-15 from scratch can be a challenging but rewarding project. By carefully selecting your parts and following these steps, you can create a custom AR-15 perfectly suited to your needs.
One Response
Is It Practical To Build Your Own AR-15? And Is It Better To Build Your Own Or To Buy One Preassembled?